
When a KitchenAid dishwasher won’t drain, you’ll see standing water in the tub, hear a pump that hums but moves nothing, or watch the cycle end with a wet, soapy puddle at the bottom. The good news: most no-drain issues are predictable, easy to confirm, and often fixable at home without tearing the whole machine apart.
What “not draining” really means
A healthy drain cycle does three things: opens a path out of the tub, spins the pump to push water through the hose, and lets gravity finish the job into the disposer or sink drain. If any one of those steps is blocked—filter packed with gunk, hose kinked, disposer plugged, pump stalled—water will linger. That’s why your first goal is to restore flow from the sump → hose → sink line.
Quick checks before you reach for tools
Start with the stuff outside the dishwasher. Run the sink disposal for 10–15 seconds to clear the branch where your dishwasher drains. If you just installed a new disposer, confirm the knockout plug in the dishwasher inlet was removed—brand-new disposers ship with that port sealed. Then look for a kinked drain hose behind the cabinet or a low sagging loop that could trap debris.
If water starts moving after you clear the disposer or unkink the hose, run a short cycle and watch the end-of-cycle drain. If it still stalls, move on.
Inside the tub: the simple cleanup that fixes most cases
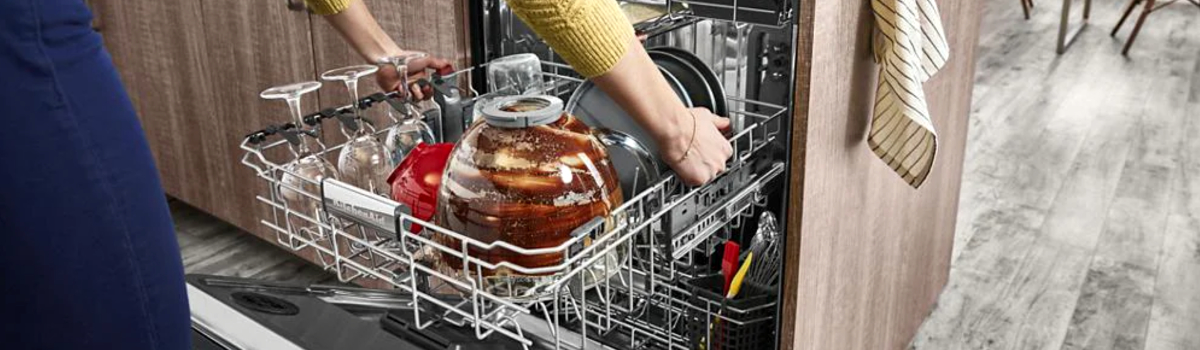
Lift out the lower rack and remove the filter assembly. KitchenAid uses a coarse and a fine filter over the sump; when they’re matted with food sludge, water can’t reach the pump fast enough. Rinse both filters in warm, soapy water and brush away grease film. While the filters are out, check the sump area for seeds, glass, or labels that may be blocking the inlet.
Reinstall the filters correctly—mis-seated filters allow debris to bypass and jam the pump later.
Targeted DIY: what to do if it still won’t drain
If the quick wins didn’t restore flow, work methodically. Unplug the dishwasher or switch off the breaker before opening toe-kick panels.
Drain hose & check valve
Detach the hose at the disposer or drain tailpiece and inspect the first few inches—this is the most common clog point. Backflush the hose in a sink. If your model uses a check valve or check ball at the sump outlet, make sure it moves freely and isn’t stuck closed.
Drain pump vs. control power
The drain pump is a small motor with an impeller. When it runs, you’ll hear a steady buzz and feel vibration at the pump body. If you can access it safely, check for foreign objects in the impeller cavity (olive pits, glass slivers, twist ties). A jammed impeller will hum and not move water. If the pump spins freely but never runs at the end of the cycle, you could be looking at a control, wire, or connector issue rather than a clog.
Main pump and motor assembly
Some KitchenAid models integrate wash and drain functions; if the motor only hums during drain and you’ve cleared the hose and filters, the assembly may be failing. Before replacing anything, verify the line is clear and the check valve opens—no motor can pump against a solid plug.
Safety note: never run the pump dry for long. Short test pulses are fine; extended dry runs overheat the motor and deform plastic.
When to stop and schedule a repair
If the dishwasher won’t energize the drain pump at all, the pump hums but you’ve confirmed the path is clear, or the board intermittently fails to send power at the end of the cycle, professional diagnostics will save time and parts. A tech will meter pump continuity, check for voltage during drain, and verify harness and control outputs under load.
Smart prevention so it doesn’t come back
You don’t need to baby your dishwasher—just adopt a few habits that keep the drain path healthy.
- Rinse the filters every few weeks and seat them correctly after cleaning.
- Keep an air gap (if fitted) clear and the drain hose routed with a proper high loop to prevent backflow.
- Run the disposer briefly before starting a cycle so the branch is open.
- Avoid peeling labels or heavy seeds in the lower rack—those love the sump.
- Once a month, run a hot maintenance cycle with a dishwasher cleaner or citric acid to cut grease film that slows flow.
Fast action plan (at a glance)
- Clear the disposer and confirm the knockout plug is removed on new installs.
- Unkink or backflush the drain hose; check for a proper high loop.
- Clean filters and inspect the sump; reassemble correctly.
- Verify the check valve/ball moves freely.
- Listen for the drain pump at end of cycle—steady run vs. silent/hum.
- If still no drain after these steps, book a diagnostic for the pump/control.
Leave a Reply